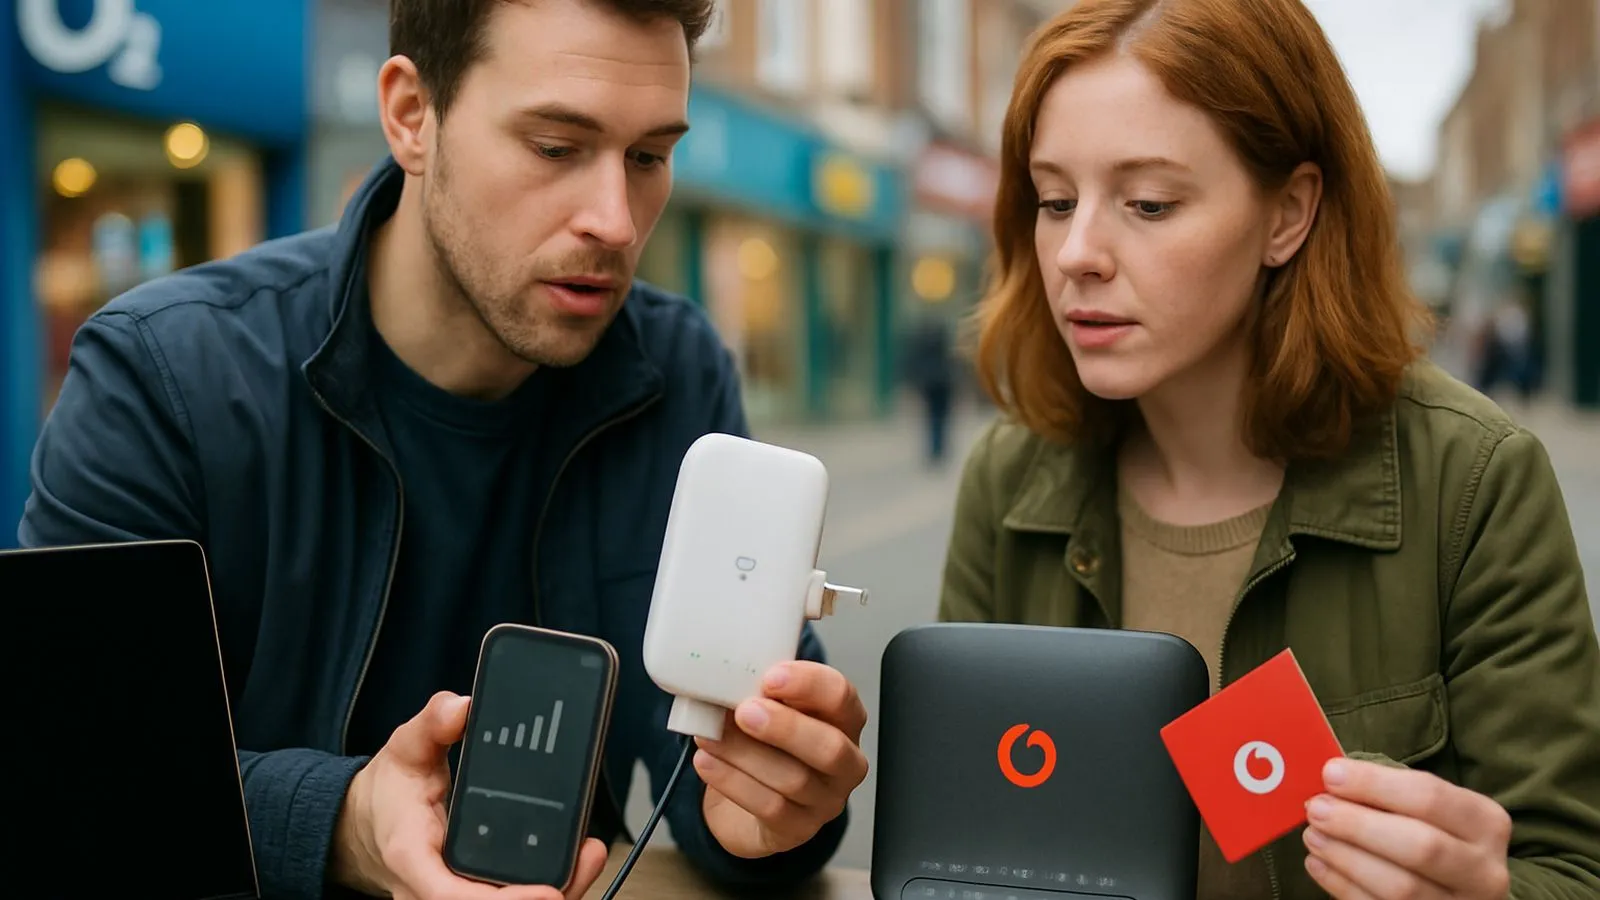
To connect a Vodafone WiFi booster to your Vodafone router, plug the booster in within 2 metres of your WiFi Hub, power it on, and press the WPS button on both devices. The front LED on the booster will confirm when pairing is complete. The whole process takes around five minutes if you follow the steps in order.
What do you need before you start?
You need a Vodafone WiFi Hub (the router supplied with your broadband package) and a Vodafone WiFi Booster. Third-party extenders follow different setup flows and are not covered by Vodafone's official support guidance. If you are on the Pro 3 Broadband package, your router is the Ultra Hub 7, a WiFi 7 device that ships with its own extender and, optionally, a 4G broadband backup dongle.
Before you start, confirm your WiFi Hub is connected to the internet and the broadband light is steady. Download the Vodafone Broadband app on your phone if you have not already, as parts of the setup may prompt you to use it.
Step-by-step setup process
Step 1: Place the booster close to the router. Vodafone's Support Centre is specific here: the booster must sit within 2 metres of the WiFi Hub during the initial pairing. Any further away and the two devices may not detect each other reliably.
Step 2: Plug in and power on the booster. Use the supplied power adapter. The front LED will light up as the device boots. Wait for it to settle, usually 60 to 90 seconds, before doing anything else.
Step 3: Press WPS on the booster. There is a WPS button on the booster itself. Press and hold it for two to three seconds until the LED changes or begins to flash.
Step 4: Press WPS on the WiFi Hub. Do this within two minutes of pressing the booster button. The Hub's WPS button is typically on the back or side. Hold it until the light flashes.
Step 5: Wait for the LED to confirm pairing. A solid white or green LED generally means success. If it stays red or continues flashing after two minutes, unplug the booster, wait 30 seconds, and repeat from Step 2.
Step 6: Move the booster to its permanent location. Once paired, unplug the booster and position it roughly halfway between your router and the area with poor coverage. Avoid placing it behind a television, inside a cupboard, or directly next to a microwave.
Step 7: Check the connection via the app. Open the Vodafone Broadband app and look for the booster in your network devices list. If the app does not show the booster immediately, check the booster LED directly as the more reliable indicator.
What do the LED colours mean?
- Solid white or green: paired and working correctly.
- Slow pulse: still connecting or searching for the Hub.
- Solid red: pairing failed. Move closer to the router and retry.
- Rapid flash: WPS mode is active and waiting for the Hub to respond.
Does the Vodafone Ultra Hub 7 need a different setup?
The Ultra Hub 7, supplied with Pro 3 Broadband, is a WiFi 7 router and supports the same WPS pairing method described above. The extender setup process is included as part of the standard Ultra Hub 7 configuration, alongside optional setup of the 4G backup dongle. The core steps do not differ from older Vodafone Hub models, though the app interface looks slightly different.
Quick fixes if the booster will not pair
If you have tried the steps above twice without success, check that WPS is not disabled on your Hub. Log into your router admin panel at 192.168.1.1, go to wireless settings, and confirm WPS is switched on. Factory-resetting the booster (usually a small pinhole button on the back, held for 10 seconds) and starting fresh also resolves most failed pairings.
Comments
0 comments
Loading comments…