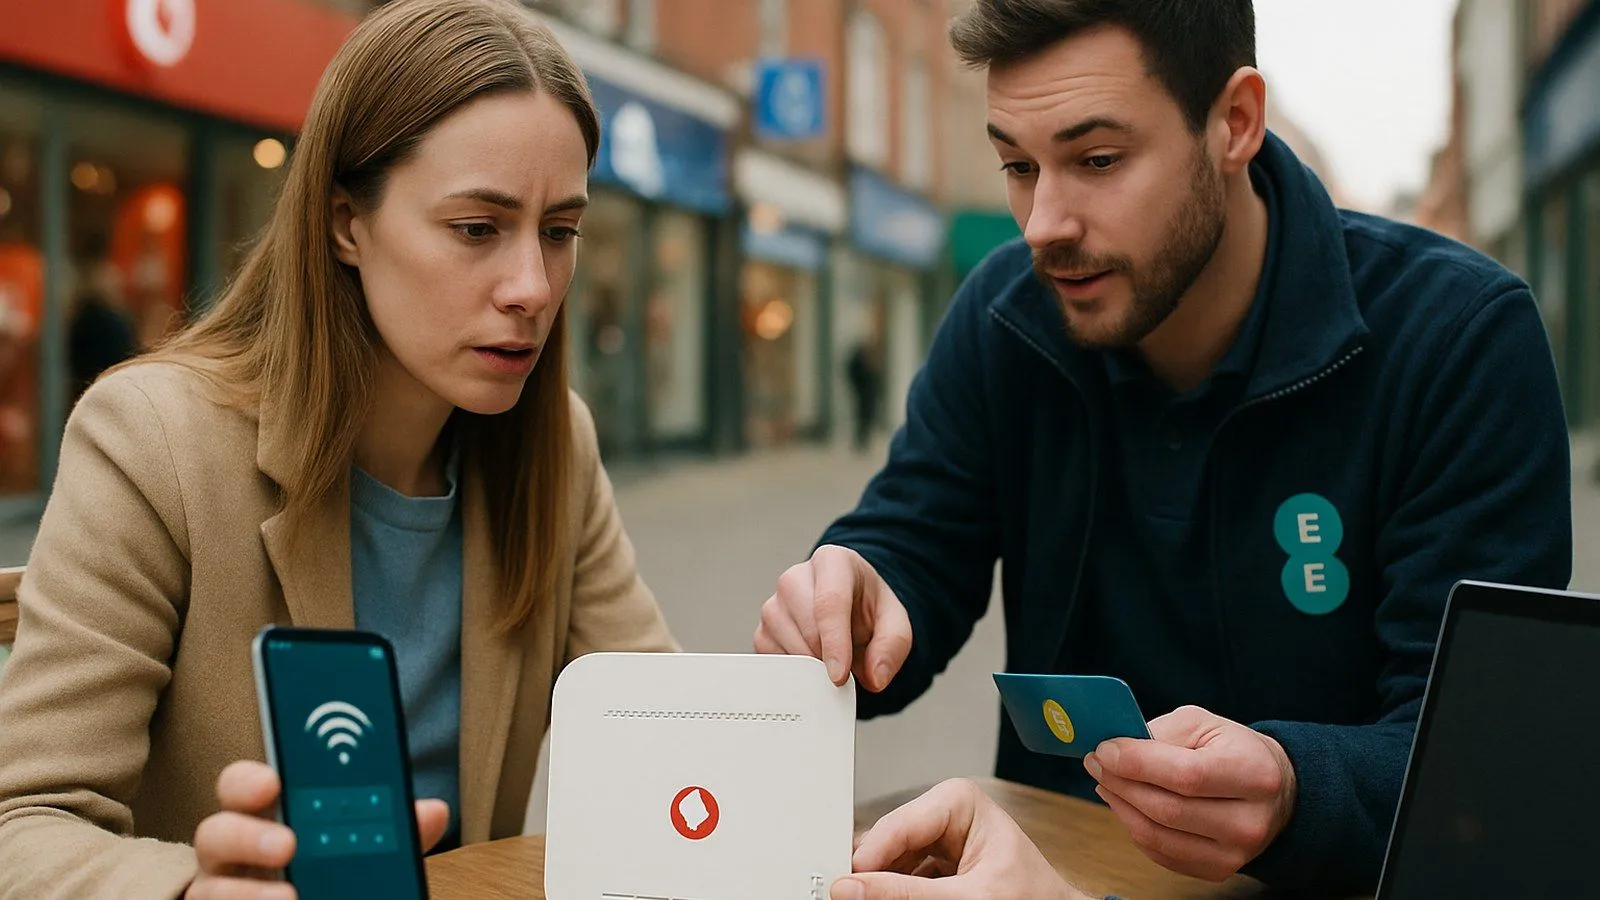
To change your Vodafone router to 2.4GHz, the first step is to log into its admin settings page, which typically involves navigating to 192.168.1.1 in your web browser. The whole process takes about five minutes inside the router admin page.
Why would you want a separate 2.4GHz network?
Smart home devices are the main reason. ESP-based gadgets, Tapo plugs, and most budget IoT hardware only support 2.4GHz. When your router broadcasts a single combined network, those devices sometimes latch onto 5GHz and then fail to connect. Separating the bands removes that guesswork entirely.
The trade-off is speed. 2.4GHz has longer range but lower throughput. For a smart plug or a sensor, that is fine. For a laptop streaming 4K, stick to 5GHz.
Step 1: Open the Vodafone router admin page
Make sure you are connected to your Vodafone Home Broadband network, then type http://192.168.1.1/ into your browser's address bar. If the page does not load, check you are on Wi-Fi or ethernet from the Vodafone router rather than a mobile connection.
Step 2: Log in
The default password is vodafone (all lowercase). If you have changed it and forgotten it, a factory reset will restore the default, though that will wipe your custom Wi-Fi name and password too. The username field, where present, is usually left blank or set to "admin".
Step 3: Split the 2.4GHz and 5GHz bands into separate SSIDs
Go to the Wi-Fi tab, then select General Wi-Fi settings. You will see an option to split the two bands. As Vodafone's own support document puts it: "If you don't want a device to automatically select which band to connect to, you can split the 2.4GHz and 5GHz bands into two separate SSIDs."
On the Vodafone Power Hub specifically, splitting the network creates two visible networks: your original SSID stays as the 2.4GHz network, and a new SSID with a _5ghz suffix appears for the faster band. Give the 2.4GHz network a name you will recognise, such as "HomeNetwork_2.4G", so you can point your smart home devices to it without confusion.
Step 4: Adjust channel and bandwidth settings (optional but recommended)
For this you need Expert mode. Inside the Wi-Fi tab, enter Expert mode and go to Settings. Here you can change the Wi-Fi mode, channel width, and channel number for each frequency independently.
For 2.4GHz, channels 1, 6, and 11 are the non-overlapping options. Picking one of those, rather than leaving it on "auto", reduces interference from neighbours' routers. Channel width of 20MHz on 2.4GHz is more stable for IoT devices than 40MHz.
Step 5: Save and reboot
Save your changes, then reboot the router. Now connect your smart home devices to the 2.4GHz SSID only.
One thing to be aware of: some users on SNBForums report that ESP devices on a secondary 2.4GHz SSID can take hours to reconnect after a router reboot. If you have four or more of these devices, check each one manually after the router comes back up rather than assuming they have all rejoined automatically.
What if devices still won’t connect?
Run through this short checklist before calling Vodafone support:
- Confirm the device you are connecting supports 2.4GHz only (check its spec sheet).
- Make sure you are entering the password for the 2.4GHz SSID, not the 5GHz one.
- Move the device closer to the router during initial setup, then relocate it afterwards.
- If the router admin page at 192.168.1.1 stops responding after changes, try a short power cycle (unplug for 30 seconds).
- For persistent failures, Vodafone's support line is 191 from a Vodafone mobile or 03333 040 191 from any phone.
SNBForums users who made the switch generally found ISP routers handle 2.4GHz devices well. One user ran ESP devices reliably on a Vodafone router for 18 months after having done the same on a Sky router for two years previously, with no meaningful difference in stability once the bands were properly separated.
Comments
0 comments
Loading comments…